
Mixing baking soda with an acid in a glass, then watching a thick white smoke escape: the experiment fascinates both children and adults. The reaction is based on a simple chemical principle, but a few practical details make the difference between a disappointing trickle of vapor and a real dense, photogenic plume.
Why does baking soda produce smoke?
Sodium bicarbonate (NaHCO₃) is a weak base. When it comes into contact with an acid, such as white vinegar, an acid-base reaction occurs. This reaction releases carbon dioxide (CO₂) in the form of bubbles.
These CO₂ bubbles are not smoke in the strict sense. They carry fine droplets of liquid suspended in the air, creating the visible white mist. The faster and more abundant the gas release, the thicker the “smoke” appears.
Have you ever noticed that the baking soda volcano overflows a lot but doesn’t always produce a visible plume? That’s because the foam stays in the container instead of releasing the gas into the air. To achieve a true smoke effect, you need to accelerate the reaction and direct the gas out. There are several tips on Ceze that exploit exactly this principle with simple setups.
Food-grade or technical baking soda: which product to choose for this experiment?
Food-grade baking soda is the only one suitable for home experiments, especially in the presence of children. Technical baking soda, sold for household cleaning, sometimes contains impurities that can irritate the skin or mucous membranes upon prolonged contact.
In practice, both react in the same way with vinegar. The difference lies in the purity of the product and the risk in case of contact with skin or eyes. For a one-time, supervised experiment, the food-grade baking soda you have in your kitchen cupboard is perfectly suitable.
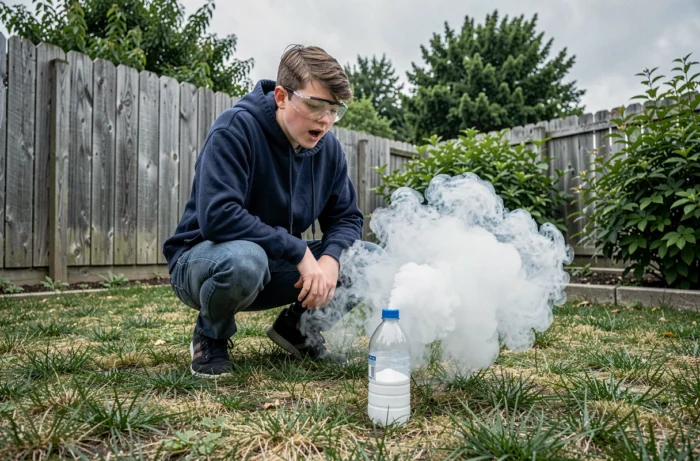
Materials and setup for dense smoke with baking soda
The spectacular effect does not only come from the amount of baking soda. It mainly depends on the setup, the temperature of the liquid, and the type of acid used.
List of necessary materials
- An empty plastic bottle (like a water bottle, narrow neck) or a tall, narrow glass, to concentrate the gas release towards the opening
- Food-grade baking soda: two to three large tablespoons are sufficient
- White vinegar, preferably warm, as heat accelerates the reaction and increases the density of the mist
- A few drops of dish soap, which trap the CO₂ in finer bubbles and prolong the visual effect
- Food coloring (optional) to tint the foam accompanying the smoke
Steps for the setup
Pour the baking soda into the bottom of the bottle. In a separate glass, mix the warm vinegar with the dish soap and, if desired, the food coloring. Then pour the acidic mixture all at once into the bottle containing the baking soda.
The reaction starts immediately. The narrow neck of the bottle channels the gas and foam upwards, projecting a plume of bubbles and white mist above the neck. A narrow neck amplifies the speed of gas release and makes the effect much more visible than with an open bowl.
To prolong the phenomenon, add the vinegar in small successive amounts rather than all at once. Each addition reignites the reaction for a few seconds.
Safety: mistakes to avoid with baking soda
Baking soda has a reputation as a completely harmless product. This is not false for common use, but smoke experiments introduce a specific risk that video tutorials rarely mention.
Never close the container after pouring vinegar over the baking soda. The CO₂ produced by the reaction builds up pressure very quickly in a sealed container. A capped bottle can deform and then burst, spraying acidic liquid onto the face and eyes. This risk of overpressure is documented in several recent home safety publications.
Other concrete precautions to follow:
- Wear protective goggles, or at least prescription glasses, to protect your eyes from splashes
- Conduct the experiment in a ventilated space: large amounts of CO₂ in a closed room can cause headaches
- Keep technical baking soda away from children and only use the food version for any bare-handed handling
- Immediately clean surfaces that come into contact with vinegar to avoid acid stains on the countertop
Variations for an even more spectacular smoke effect
The baking soda-vinegar duo remains the most accessible, but you can enhance the visual effect with a few adjustments.
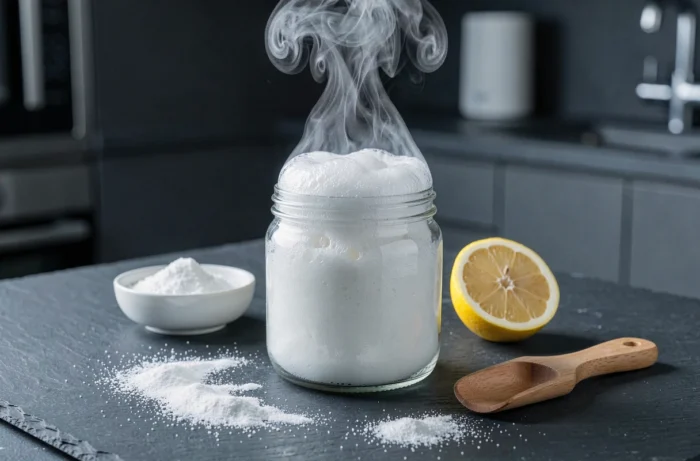
Replacing vinegar with concentrated lemon juice slightly alters the reaction speed. Citric acid reacts a bit more slowly, producing a more gradual and longer smoke release. Lemon juice creates a more lasting mist than vinegar, although less visually explosive.
Adding warm water (not boiling) to the acidic mixture before pouring it over the baking soda amplifies the amount of water vapor carried by the CO₂. The mist that forms is then thicker and remains visible longer in the ambient air.
For a colorful effect, dish soap tinted with food coloring creates a colored foam that overflows from the container, while the white smoke rises above. The visual contrast works particularly well with red or green dye.
Baking soda, a packet of vinegar, and an empty bottle are enough to create a striking chemical spectacle in a kitchen. The key lies in the choice of container and the temperature of the liquid, not in the amount of product. Keep the neck open, protect your eyes, and the reaction will do the rest.